WordPress Multisite is a powerful feature that offers flexibility and convenience for managing multiple websites efficiently.
WordPress, with its versatility and user-friendly interface, has long been a top choice for website creation. Whether you’re managing multiple websites for different branches of your business or running a network of blogs, WordPress Multisite offers a convenient solution.
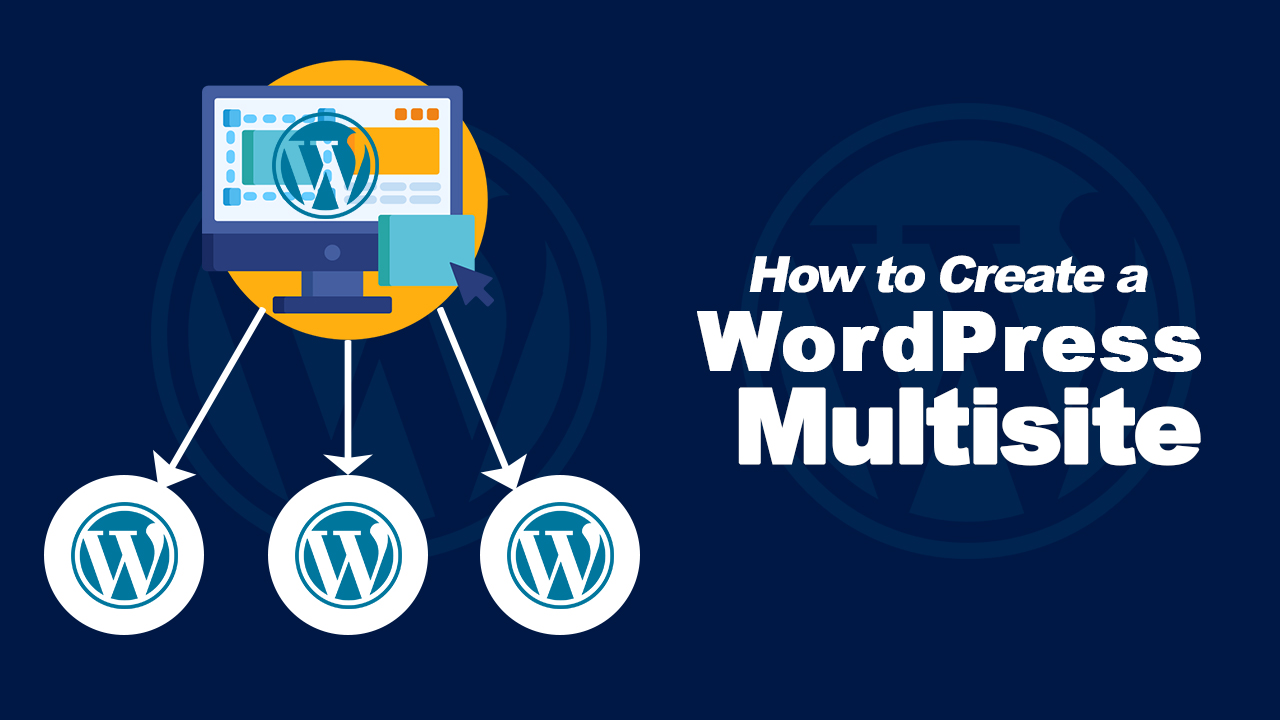
WordPress Multisite is a feature of WordPress that allows you to create and manage multiple websites from a single WordPress installation. Instead of having separate WordPress installations for each website, Multisite enables you to run a network of interconnected sites from a central dashboard.
With Multisite, you can create new sites on sub-domains or sub-directories of your main domain. Each site within the network can have its own unique content, themes, plugins, and users, while still sharing the same WordPress core files and database. This makes it easier to manage multiple websites, especially if they have similar themes or purposes.
Multisite is commonly used by organizations, businesses, educational institutions, and anyone who needs to manage multiple websites under one umbrella. It offers several benefits:
- Centralized Management: You can manage all your websites from a single WordPress admin dashboard, making it easier to update themes, plugins, and content across the entire network.
- Resource Efficiency: Multisite allows you to save resources by using one WordPress installation for multiple sites. This can be particularly beneficial for web hosting costs and server resources.
- Consistent Branding: You can maintain consistent branding across all your sites by using the same themes, plugins, and user permissions.
- Scalability: Multisite is scalable, allowing you to easily add new sites to your network as your needs grow.
- User Management: You can assign different roles and permissions to users for each site within the network, giving you fine-grained control over who can access and manage each website.
WordPress Multisite is a powerful feature that offers flexibility and convenience for managing multiple websites efficiently. However, it may not be suitable for every situation, particularly if each website requires complete independence or customization. It’s essential to consider your specific needs and requirements before deciding whether to use WordPress Multisite for your web projects.
In this guide, we’ll explore two methods for setting up a multisite WordPress website: during initial installation via cPanel and on an existing WordPress installation.
1. Creating a Multisite During WordPress Installation via cPanel
Step 1: Accessing cPanel
Upon purchasing a hosting plan, you’ll typically receive login credentials to access your cPanel (Control Panel). Log in to your hosting account and navigate to the cPanel dashboard.
Step 2: Installing WordPress
Locate the “Softaculous Apps Installer” or a similar tool within cPanel. Click on it to access the WordPress installation wizard. Follow the prompts to install WordPress on your domain.
Step 3: Enabling Multisite
- After WordPress installation, log in to your WordPress admin dashboard.
- Navigate to “Tools” > “Network Setup.”
- Choose between sub-domains or sub-directories as your preferred site structure. Enter the necessary information, such as network title and admin email.
- Click “Install” to enable Multisite.
Step 4: Configuration
Follow the instructions provided on the Network Setup page to configure your wp-config.php and .htaccess files. These files will require specific lines of code to activate Multisite functionality.
Step 5: Managing Sites
Once Multisite is activated, you can manage your network of sites from the “My Sites” menu in the WordPress admin bar. You’ll have access to a Network Admin dashboard where you can add new sites, manage existing ones, and control user permissions.
2. Creating a Multisite on an Existing WordPress Website
Step 1: Backup Your Website
Before proceeding, it’s crucial to back up your existing WordPress website to prevent data loss in case of any errors during the process. You can use plugins like UpdraftPlus or manually backup via cPanel.
Step 2: Preparing Your Existing Installation
- Add the code below to your wp-config.php file
- Log in to your WordPress admin dashboard.
- Deactivate all plugins to ensure compatibility with Multisite.
- Consider whether you want to use sub-domains or sub-directories for your multisite setup.
/* Multisite */
define( 'WP_ALLOW_MULTISITE', true );
Step 3: Enable Multisite
- Navigate to “Tools” > “Network Setup” as described in the previous method.
- Follow the same steps to configure and enable Multisite on your existing WordPress installation.
Step 4: Configuration
Update your wp-config.php and .htaccess files with the provided code snippets to activate Multisite features. Ensure to follow the instructions carefully to avoid any errors.
Step 5: Site Management
Once Multisite is successfully enabled, you can start managing your network of sites through the Network Admin dashboard. You can add new sites, install themes and plugins network-wide, and manage user roles and permissions.
Watch the video
Conclusion
WordPress Multisite offers a convenient way to manage multiple websites under one dashboard, making it an ideal choice for businesses, organizations, and individuals with diverse web management needs. Whether you’re setting up a multisite during initial WordPress installation via cPanel or on an existing WordPress website, following these steps will help you seamlessly create and manage your network of sites. With proper planning and execution, you can unlock the full potential of WordPress Multisite for your web projects.


